Datasets
Import data once, keep it in the dataset library, edit it in the grid, and attach it to a model.
A dataset is data you have brought into eode: a workbook, a set of database tables, a Google Sheet, a public data feed. You import it once and it stays in the dataset library, where you can preview it, edit it, and bind it to a model.
Datasets sits in the left rail directly under Model Library. One lists what you authored; the other lists what you imported.
The dataset library
The library opens with the line "Data you have imported. Import once, preview it any time." Above the list are a Search datasets… box, which matches on dataset name, and a Sort select offering Last updated (the default), Date created, and Name. Import Data is the primary button.
Each row shows the dataset name and a sub-line counting its resources and its rows. Click the name to open it.
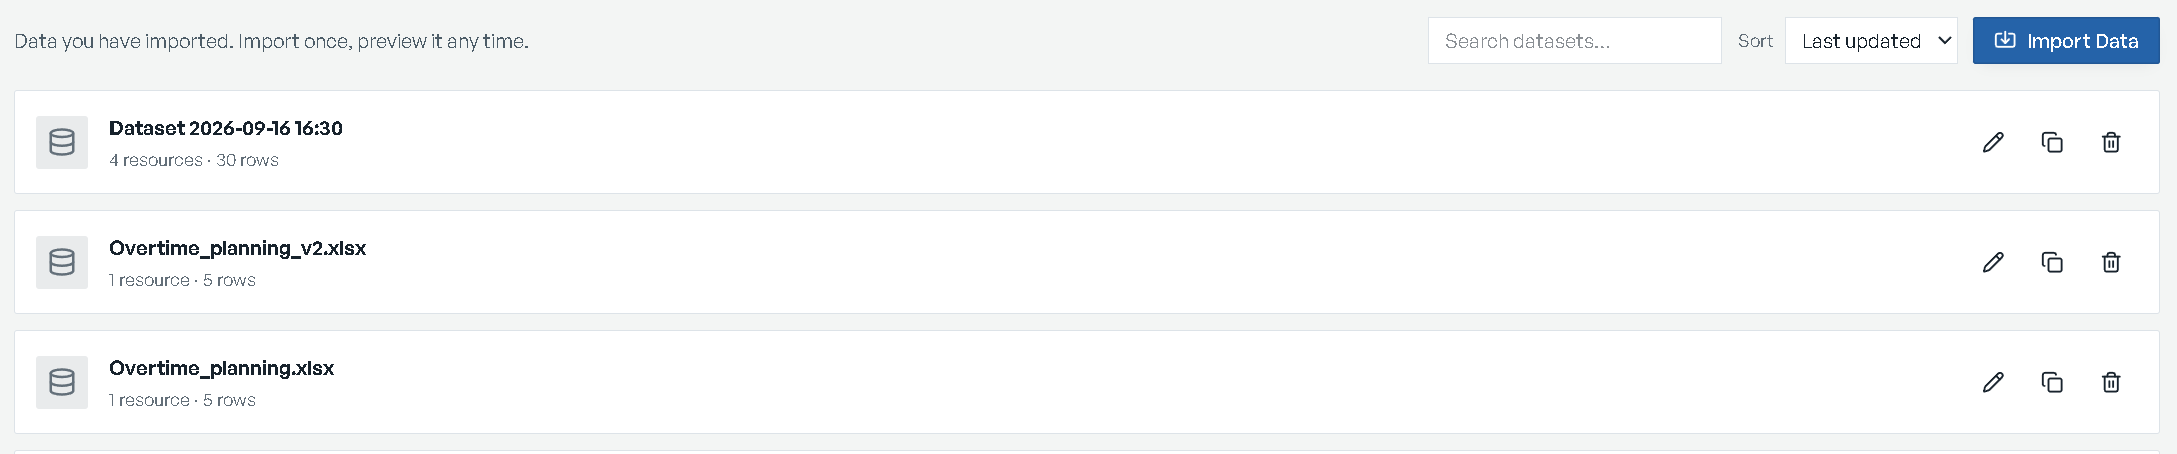
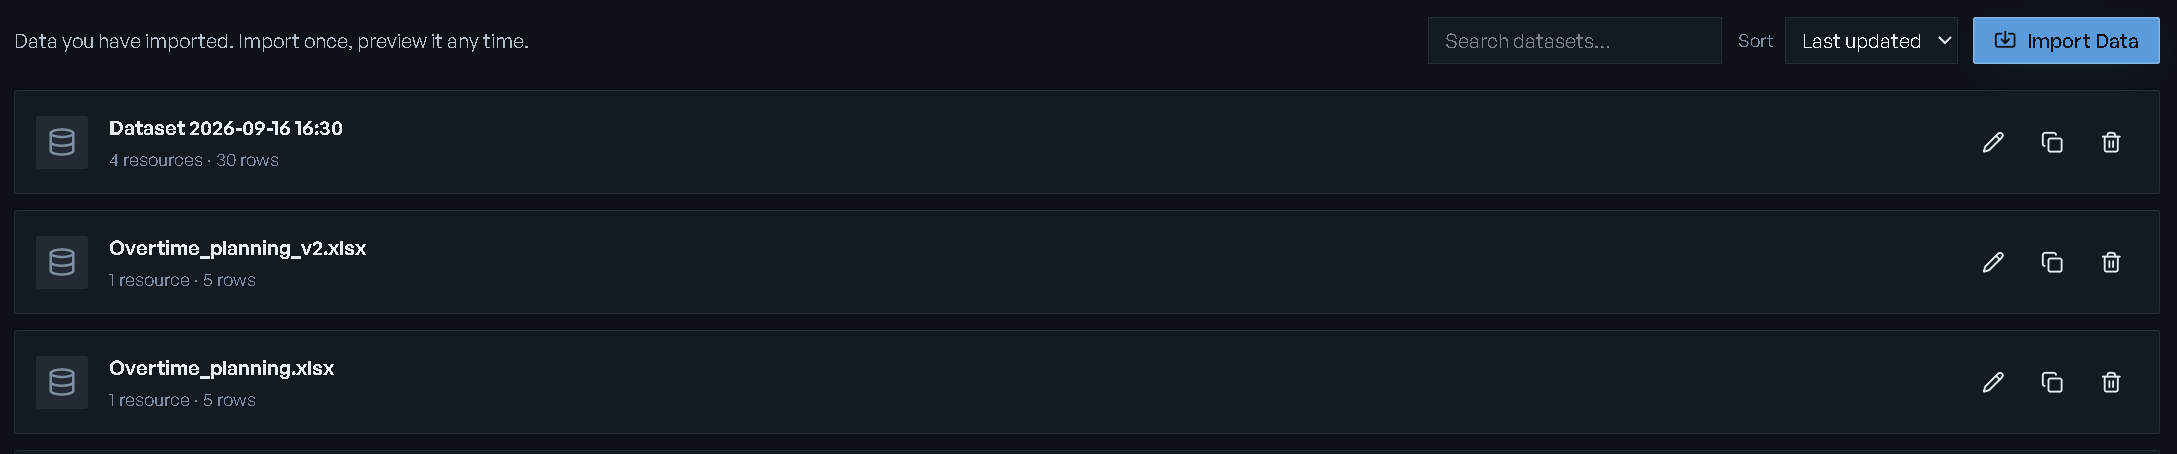
Hovering a row reveals three actions:
| Action | What it does |
|---|---|
| Rename | Prompts for a new name and confirms with Rename. |
| Duplicate | "Its resources and rows are copied into a new dataset you own. Edits to the copy do not touch the original." The name defaults to <name> (copy); confirming with Duplicate opens the copy. |
| Delete | Counts the models built from the dataset first, then asks to confirm. "Its imported resources are removed with it. This cannot be undone." |
Import data
Import Data opens the import window. You pick a source from the catalog, authenticate, choose which of its tables or sheets to pull, and review. The sidebar keeps every source you have staged, so one import can draw on several at once. The catalog, the connect step, and saved connections are covered in Data integration.
On the Review step the window asks for a Dataset name. Leave it empty and the dataset is named for the date and time you opened the window — "Name it something you will recognise later, or leave it empty to use the date and time." Import data → runs the import; the confirmation reads Data imported and offers Open dataset →.
Imports into the dataset library are one-time pulls. Scheduled syncs are set up on a model's own connection — see Scheduled sync.
Workbooks laid out as reports
A sheet laid out as a report — line items down one column, periods across a header row, often several entities side by side or several reports stacked on one sheet — is not a table a model can read directly. When you import a single Excel workbook as a new dataset, eode also reads each such sheet out into tidy tables, one per report and entity panel, and adds them to the dataset beside the original sheet. The original stays as it was.
Each of these tables is named for its panel and its first period — Total from Jan, for
example — and has one row per line item and one column per period, after five leading columns:
| Column | Holds |
|---|---|
line_item | The line item's label. |
section | The section heading the line item sits under. |
level | How far the label is indented in the report. |
is_total | Whether the row is a total. Total rows are kept and marked, not dropped. |
sourceCell | The cell the row's label came from, such as Report!B83. |
A cell that holds a formula error in the workbook is left empty, never written as zero.
A sheet is read this way only when its label column, its header row, and its numbers all line up; any other sheet comes in as it is. Adding a workbook to an existing dataset through Add resource → Import data brings its sheets in as they are.
Inside a dataset
A dataset's parts are called resources, because a source part is as often a sheet, a base, or a view as it is a table. They are listed in a sidebar under the dataset name, with a row count each; the open one is highlighted.
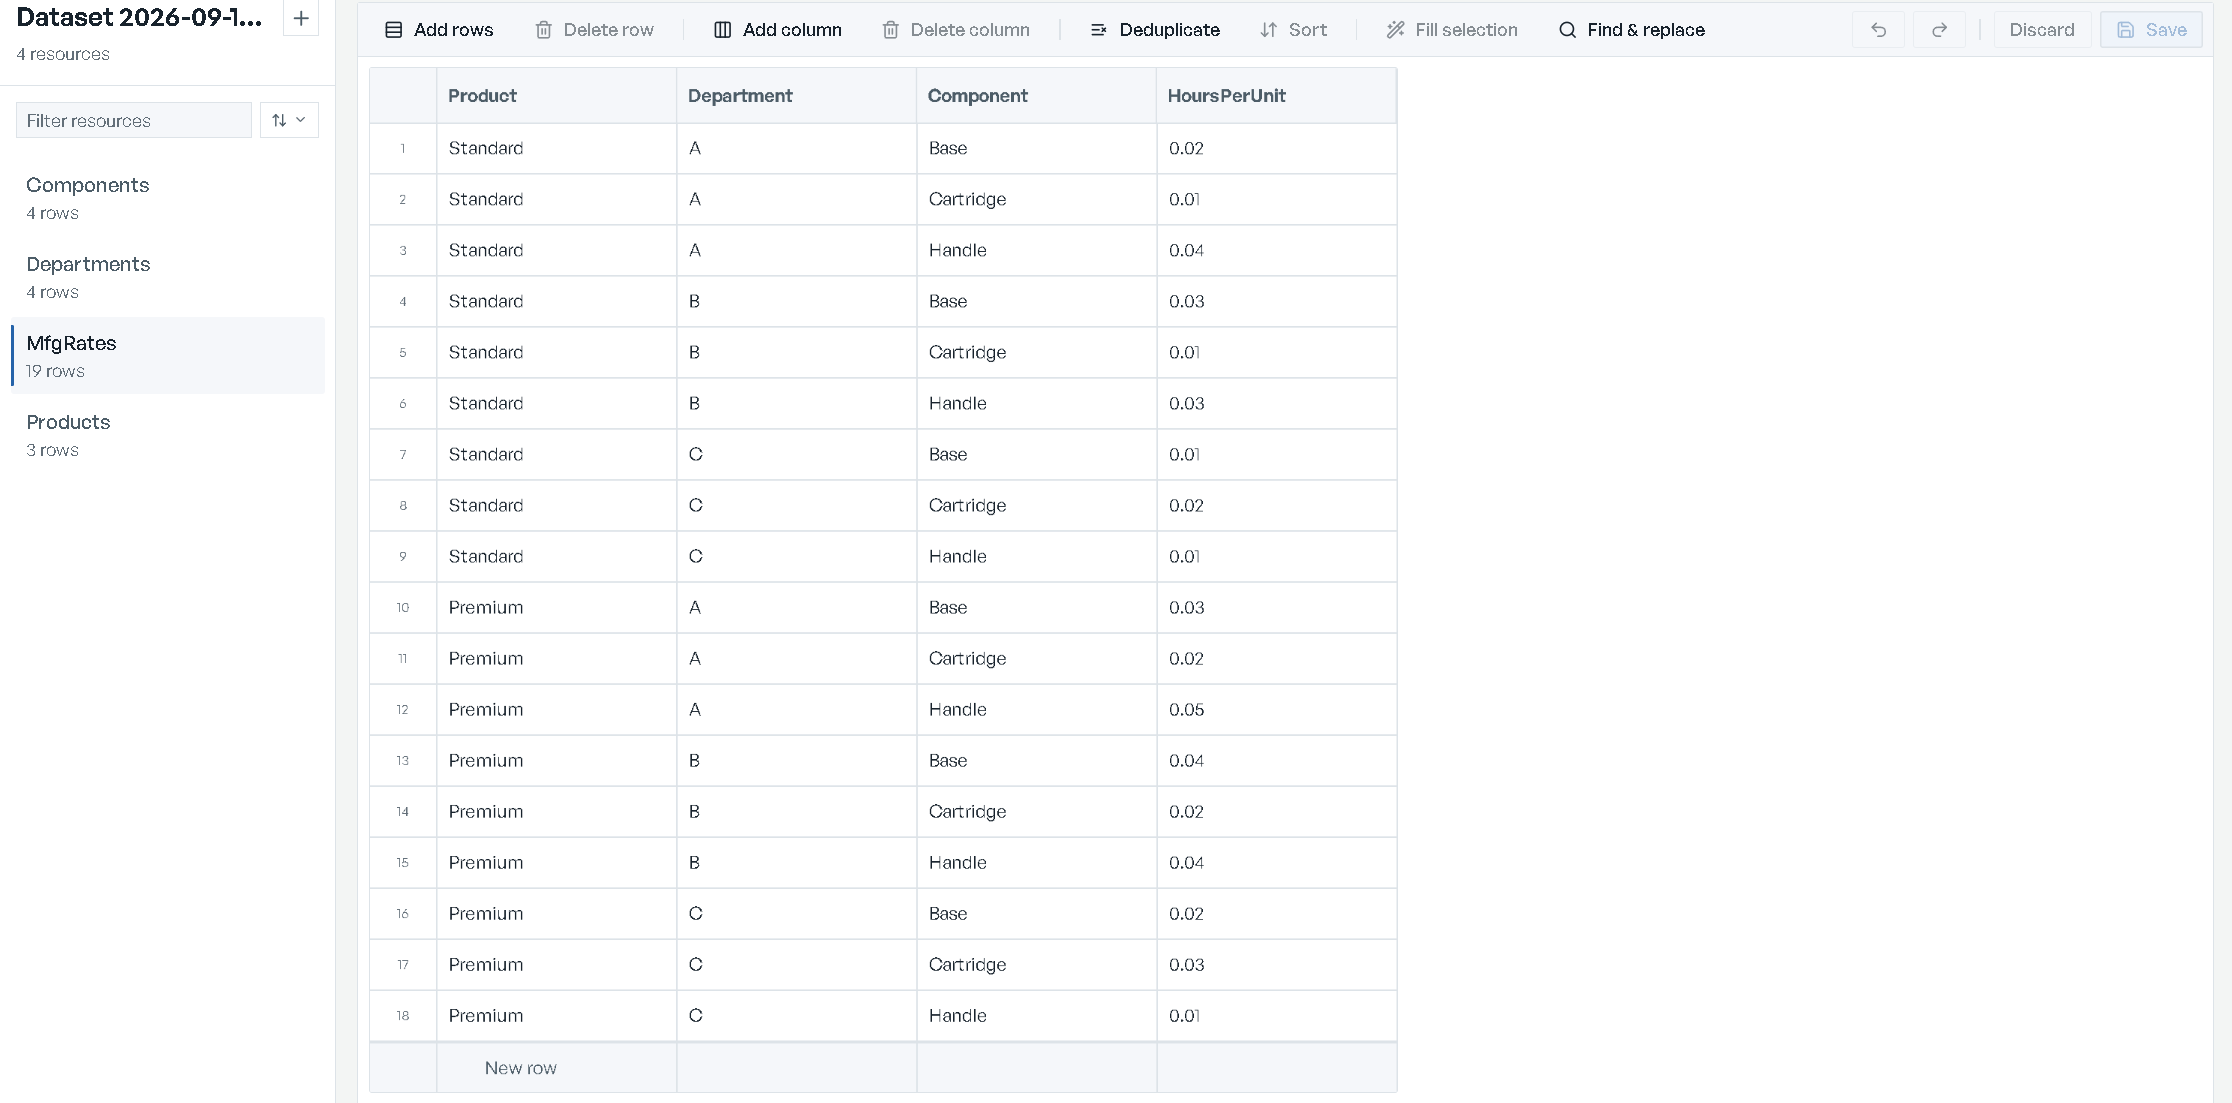
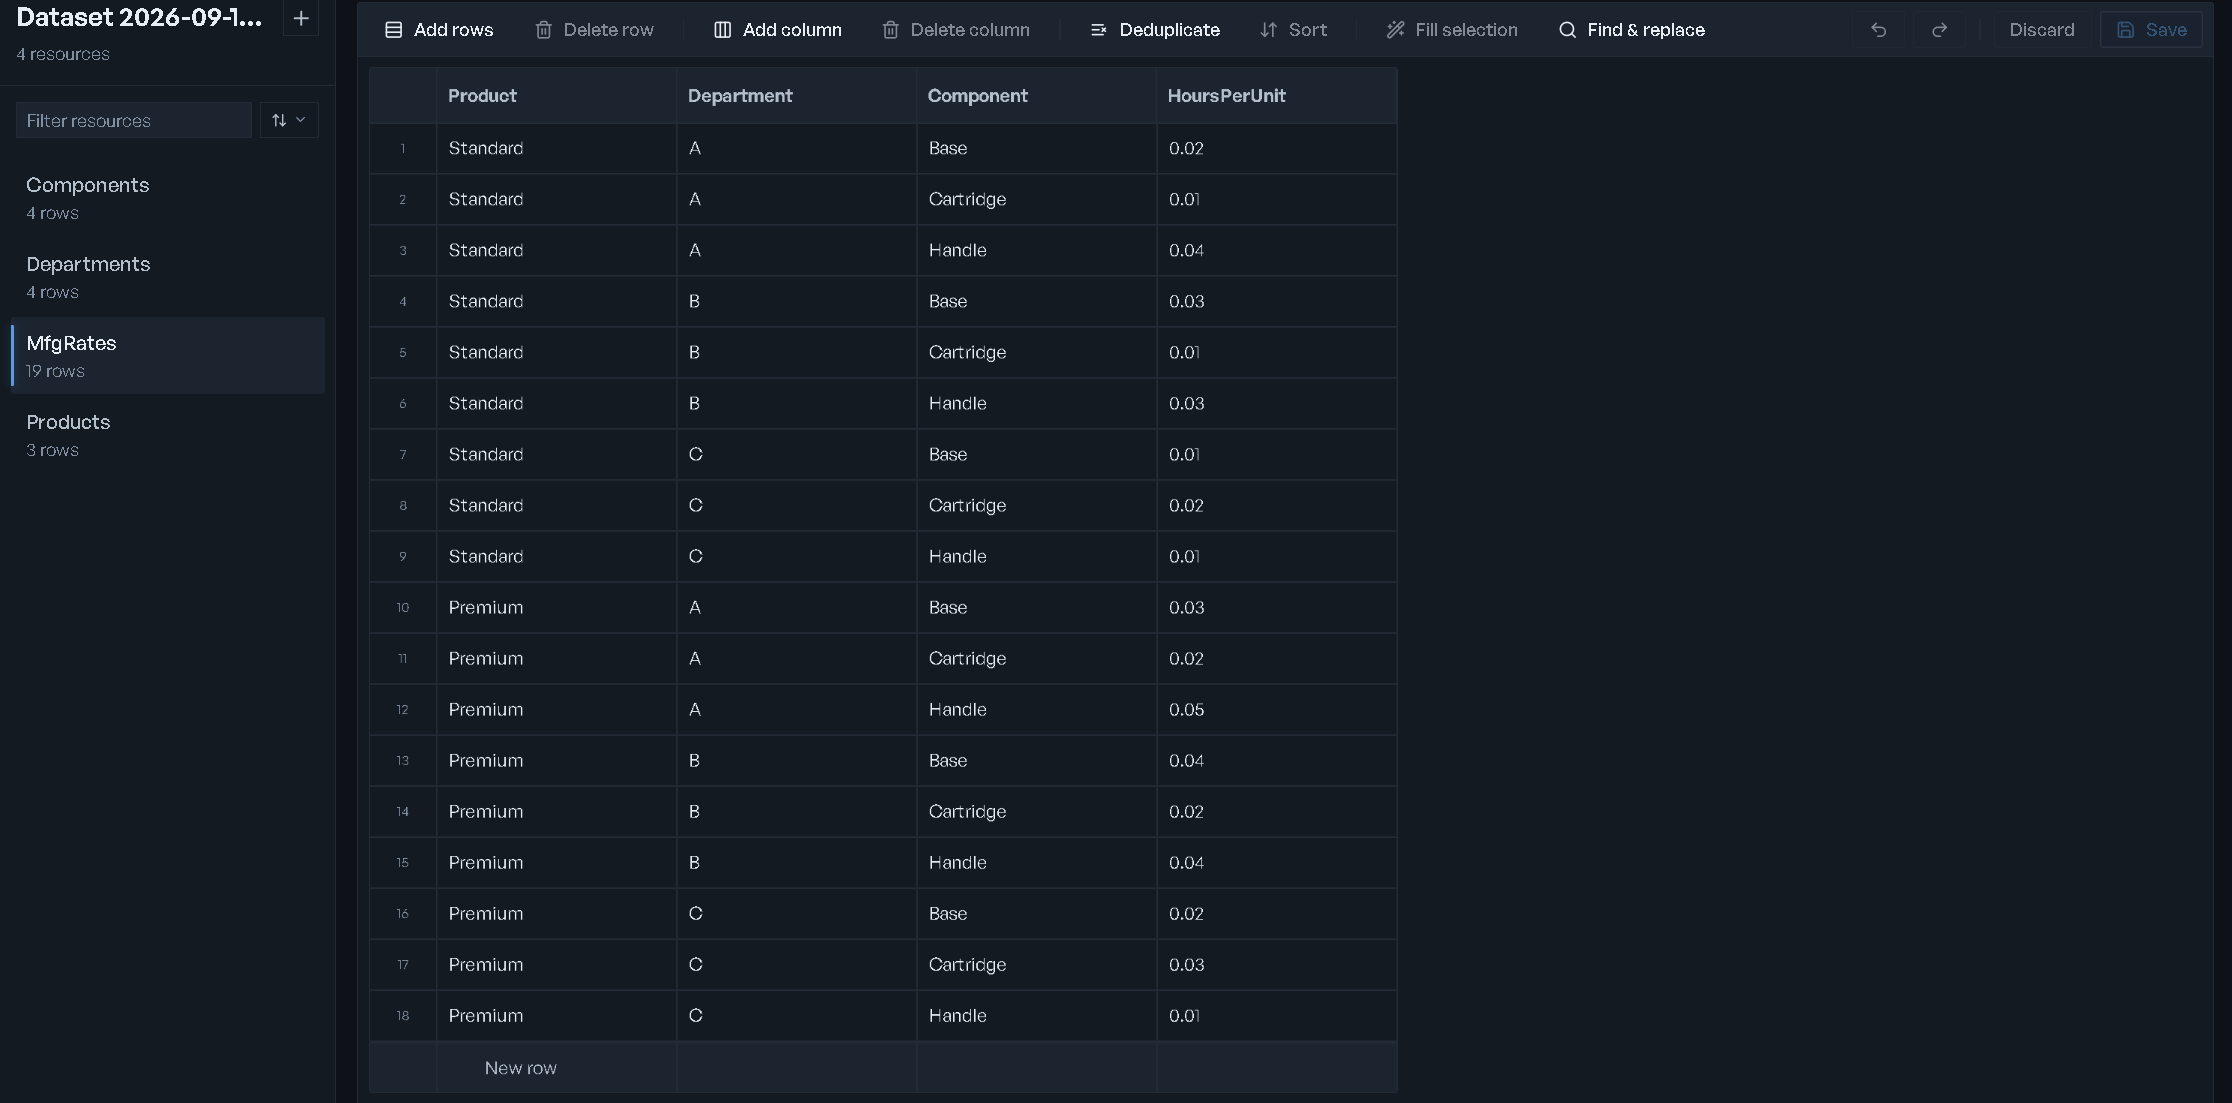
The sidebar carries:
- Filter resources — narrows the list as you type. Esc clears it; the down arrow moves focus into the list.
- Sort resources — Name A–Z (the default) or Name Z–A. Your pick is remembered.
- Add resource — a menu with two items: Empty table and Import data.
- Per-row Rename resource and Delete resource.
Import data here runs the same import window with the dataset already chosen, so what you pull is added to this dataset rather than creating a new one. It collects no name.
Empty table asks two questions: a name ("It starts empty, with a header row you can rename in
the grid.") and how many columns it should have, defaulting to 3. Columns arrive named Column 1,
Column 2, and so on, and you rename them in the grid. A resource can be created with at most 50
columns; add the rest afterwards.
A resource holds at most 20,000 rows from a workbook sheet or a CSV / TSV file, and at most 100,000 rows from a table of any other source. If the source held more, the resource keeps the rows that fit and a line above the grid says so: "Truncated from N rows at the source." See Limits.
Editing a resource
The grid is a working copy. Nothing reaches the server until you press Save — every dialog in
the toolbar says so, and the footer tracks it: N rows × N columns, then Unsaved changes or
Saved. The Save button itself turns green while there is something to save.
| Control | What it does |
|---|---|
| Add rows | Asks how many empty rows to append; the default is 10. |
| Delete row / Delete N rows | Deletes the rows you picked with the row markers. |
| Add column | Asks for a name and inserts the column after the selected one, or at the end. |
| Delete column | Removes the named column and every value in it. |
| Deduplicate | "Remove empty rows and repeated rows, keeping the first of each." It reports what it removed, and undo restores them. |
| Sort | Sorts the rows by the selected column; press it again to reverse the order. It stays disabled until you select a column. Sorting is an edit — save it like any other. |
| Fill selection / Fill N cells | Sets every cell in the selected block to one value. Leave the value empty to clear them. |
| Find & replace | Opens the find bar. |
| Undo / Redo | Steps back and forward through your edits, up to 100 steps. |
| Discard | "The resource goes back to what is stored. This cannot be undone." |
| Save | Writes the resource. |
Clicking a column header selects the column; it does not reorder the rows. Sort is the only control that does. Rename a column from its header in the grid. The new name "is written into this resource's header row when you save."
Keyboard: Ctrl/Cmd+Z undoes, Ctrl/Cmd+Shift+Z or Ctrl/Cmd+Y redoes, Ctrl/Cmd+F opens find and replace, Ctrl/Cmd+S saves. Leaving the page with unsaved edits prompts you first.
Find and replace
Find & replace opens a bar with Find and Replace with boxes and three checkboxes: Match case, Whole cell, and In selection (available once you have selected a rectangular block). The match count updates as you type, and Replace all applies the replacement to every match.
What you type in Find is matched literally — it is never read as a pattern or a regular expression.
Limits
- A resource with more than 20,000 rows opens read-only, with a banner saying so. Everything above that line is still stored and still usable by a model; it is the browser editor that does not load it.
- Every row of an editable resource is loaded up front, because a save replaces the whole resource.
Which models use a dataset
A model built from a dataset keeps its own copy of the numbers. Deleting the dataset does not break the model — the delete confirmation says how many models came from the data and that they keep their own copy.
Attaching a dataset to a model
While authoring a new model
On Describe your problem, the Upload or select relevant datasources row offers Select data from previously connected datasets. The picker is headed Use data you already have — "Every workbook you have brought in, and every source you have connected, is a dataset here. Pick one to build from it without uploading again." Each row reads its resource count, row count, where it came from, and when it was last updated. Connect a new source at the foot of the picker imports something new and makes it the pick.
The rest of the authoring run is covered in Building models.
Into a model that already exists
From the model page, the Load your real data card under SUGGESTED NEXT leads to Load your data →. That opens two tabs:
- Upload filled template — a filled workbook shaped to what the model asked for.
- Use a dataset — binds a dataset you already have.
Choose the dataset
Pick it from the Dataset select. With no datasets yet, the tab says so and offers Open the Dataset Library.
Stage & validate
Stage & validate proposes a binding between the dataset's tables and the tables the model expects, stages them, and validates them in one pass.
Review the binding
Correct anything the match got wrong — see below.
Map data onto the verified structure
The terminal button writes the binding. If your draft has moved since the last pass, the button waits behind Re-stage with changes.
The binding review
The review opens with an Overall match meter and a line counting how many of the tables the model expects have been fed, how many need your review, and how many are still on sample data. Accept all suggestions takes every proposal at once.
Each row of the table pairs Model expects with From dataset table, and shows a Confidence, a Status, and an Accept box. Status reads accepted, needs review, pending re-stage, or sample data; a table the model cannot do without also carries required. Change the pairing from the row's source select, which lists the best candidates first and offers — none (keep sample data) —.
Expand a row to see why the match was made, any findings against it, and the column map — each Expected column against a From column, with its own confidence and type. — unmapped — leaves a column unfed, and a column you pick yourself is marked as your pick rather than scored. A type that does not line up is flagged type differs. Anything in the dataset that nothing reads is named under the table: "Not used from the dataset: … — assign one above if the model should read it."
Below the table, Data validation summarizes what the checks found — clean, or a count of warnings, blocking findings, and fatal findings. Fatal findings block the binding: the terminal button becomes Fatal findings — fix & stage again until you fix the data and stage it again.
Once the binding is written it goes to review with the rest of the model's data record — see Validation and trust.
After the data is in
Changing numbers that are already inside a model is a different surface with different rules — see Editing data.
Building models
The five-step New Model wizard: describe your business, check how RIA read your data and answer its questions, confirm the design, load your data, and solve your baseline.
Model home
A model's landing page: the five-step record of how it was built, what it's worth, and every door into it.